
Happy Female Filmmaker Friday! It seems an appropriate time to share a really cool project that I just recently completed in time to shoot a specific scene in “Home Invasion.” The shot consisted of following the lead actor from behind as he got out of the car and all the way up to the front door at about ankle height. It was challenging, but the Fig Rig did the trick!
I can not take credit for the design and want to give full credit to Marc Silber. Check out his YouTube channel for more information. DIY Fig Rig DSLR Stabilizer
In the meantime, here’s my adventures in making DIY film gear!
Step 1: Visit your local hardware store for the following:


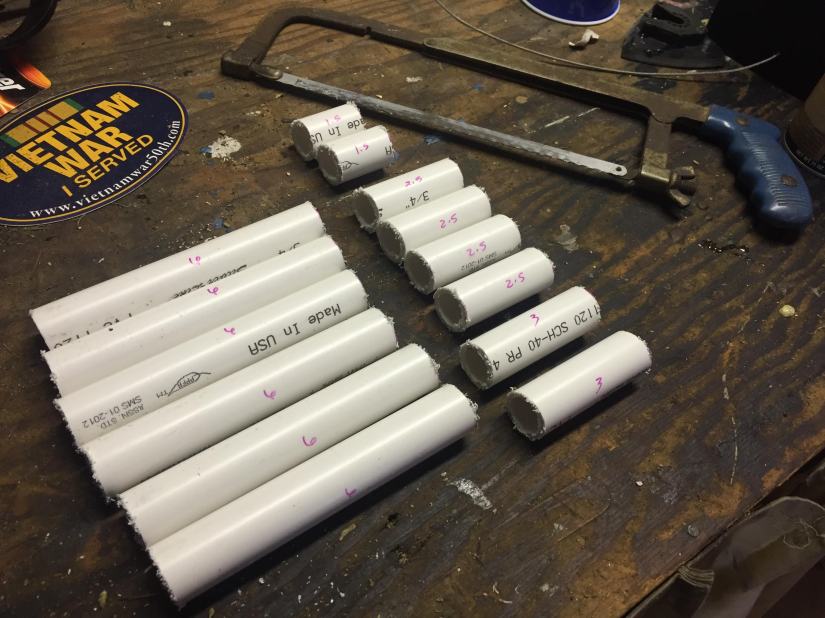
5 foot long PVC pipe cut into the following specifications:
- 6 (6 inch pieces)
- 2 (3 inch pieces)
- 4 (2.5 inch pieces)
- 2 (1.5 inch pieces)
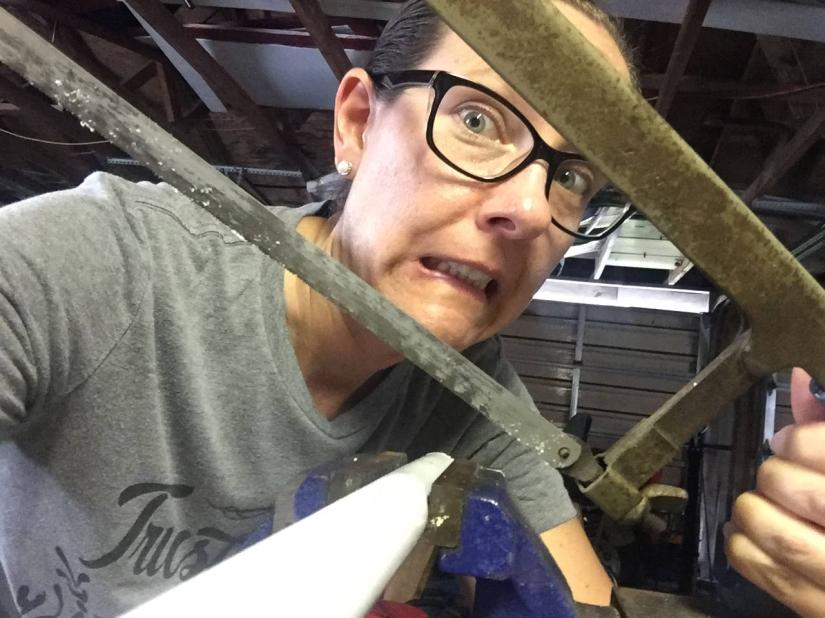
Caution: Be VERY careful when working with sharp objects.
Additional items from the hardware store:
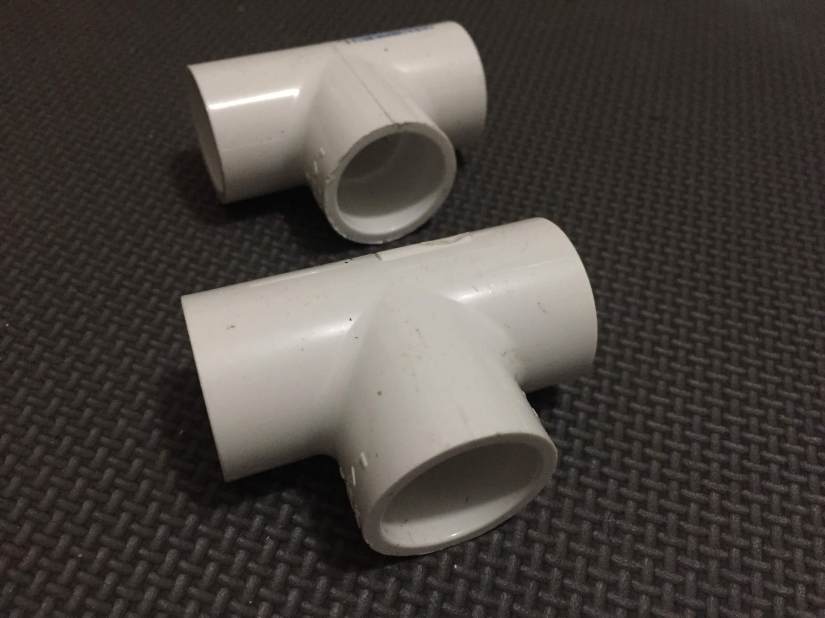
2- T-PVC
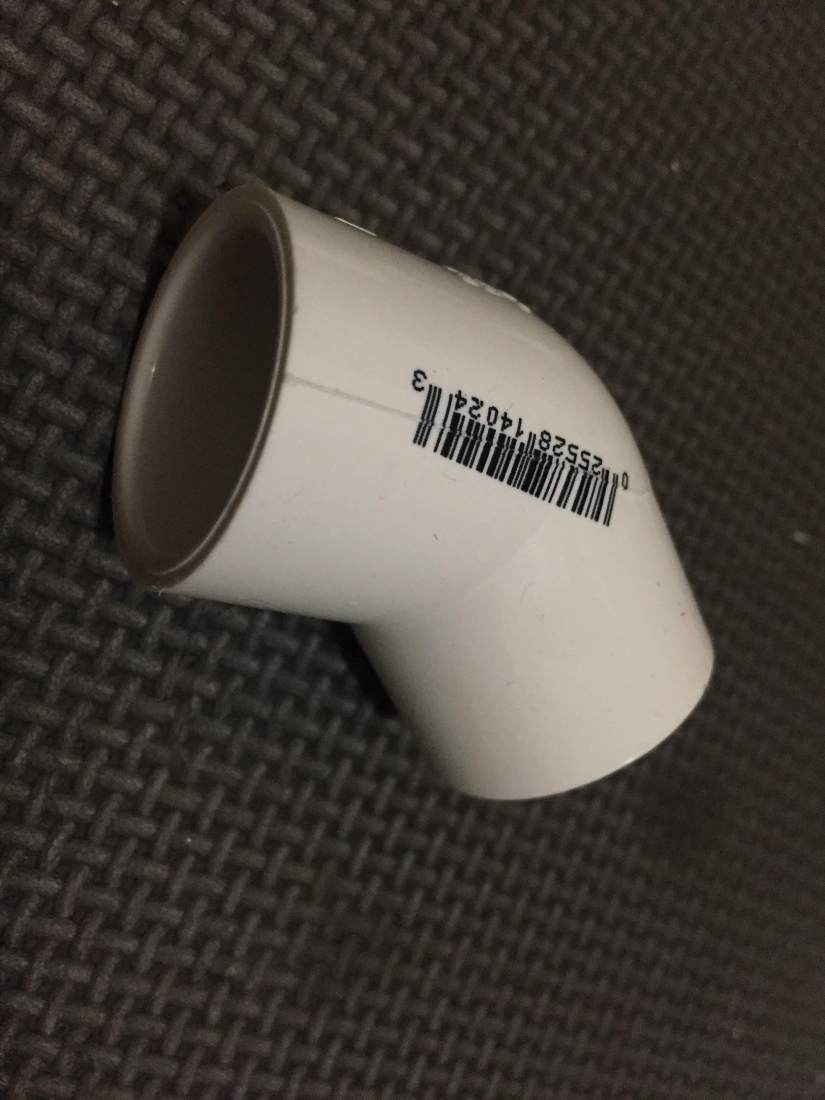
10- 45 degree PVC elbows. CAUTION: Get the 45 degree elbows. I may, or may not have accidentally bought the 90 degree elbows. OOPS!
1- Conduit Box

Lastly, a can of spray paint for a finished look, PVC cement, splicing tape, 1 washer, 1 3/4 inch bolt, two nuts, and a quick release plate for your camera.
Other materials that you may have lying around: Power Drill, 3/4 inch drill bit, sharpie, hack saw, and clamp.
Step 2:
Drill a hole into the conduit box as seen in the above picture.
Step 3:
Measure and cut the PVC into the specified length as seen in the above picture.
Step 4:
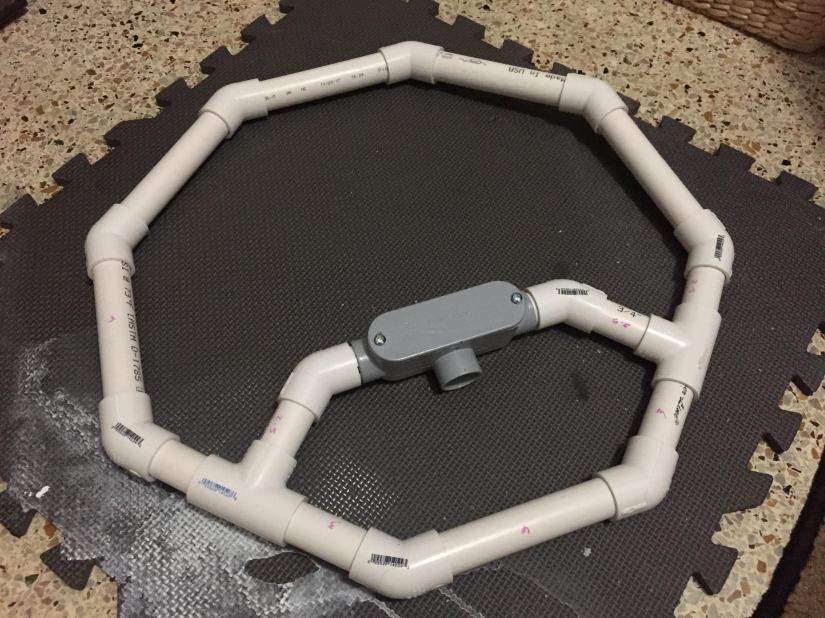
Dry assemble the Fig Rig and mark with a Sharpie. It will ensure that the alignment is correct when it is glued in the final stage.
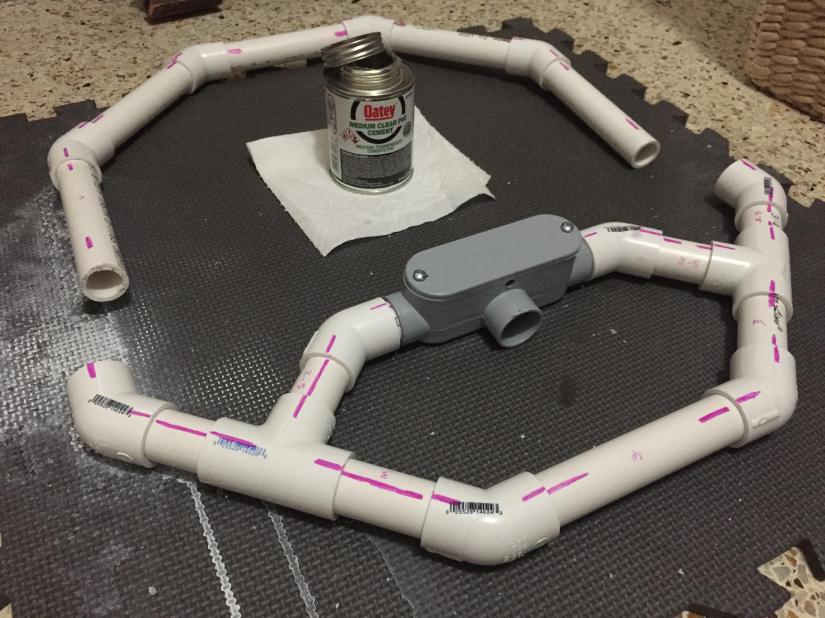
Step 5:
Assemble and glue top first. Then, assemble and glue bottom. Finally, glue the top to the bottom.
Step 6:
Spray paint for finished look.

Step 7:
Use splicing tape to wrap around the two handles, creating grips for the Fig Rig.
Step 8:
Attatch the Quick Release Plate. (See video demonstration) Fig Rig Vid
Tada!
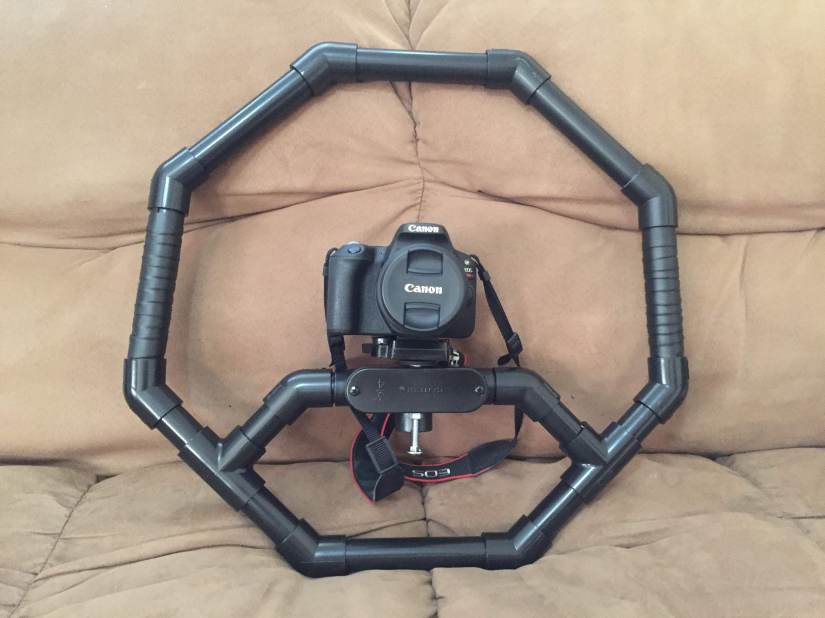
There you have it! It really was pretty easy and only cost about $30. I don’t have footage to share, but check out the link above to see the Fig Rig in action.
